Web Portal & Free Workspace
The portal at baas.lighthouse.storage is where humans work: you log in, get your free 5 GB workspace, mint a scoped API key, and browse the snapshots your backups produce. The SDK then uses that API key to do the heavy lifting from your servers or CI.
The portal lives at baas.lighthouse.storage (the website you click around in). The Go SDK talks to baas-api.lighthouse.storage. When you create the client, point APIURL at the API host.
Every new user automatically gets a free workspace with 5 GB of storage on sign-up — no setup or payment required. You can start backing up immediately and create more workspaces or upgrade for additional capacity later.
1. Log in
- Open
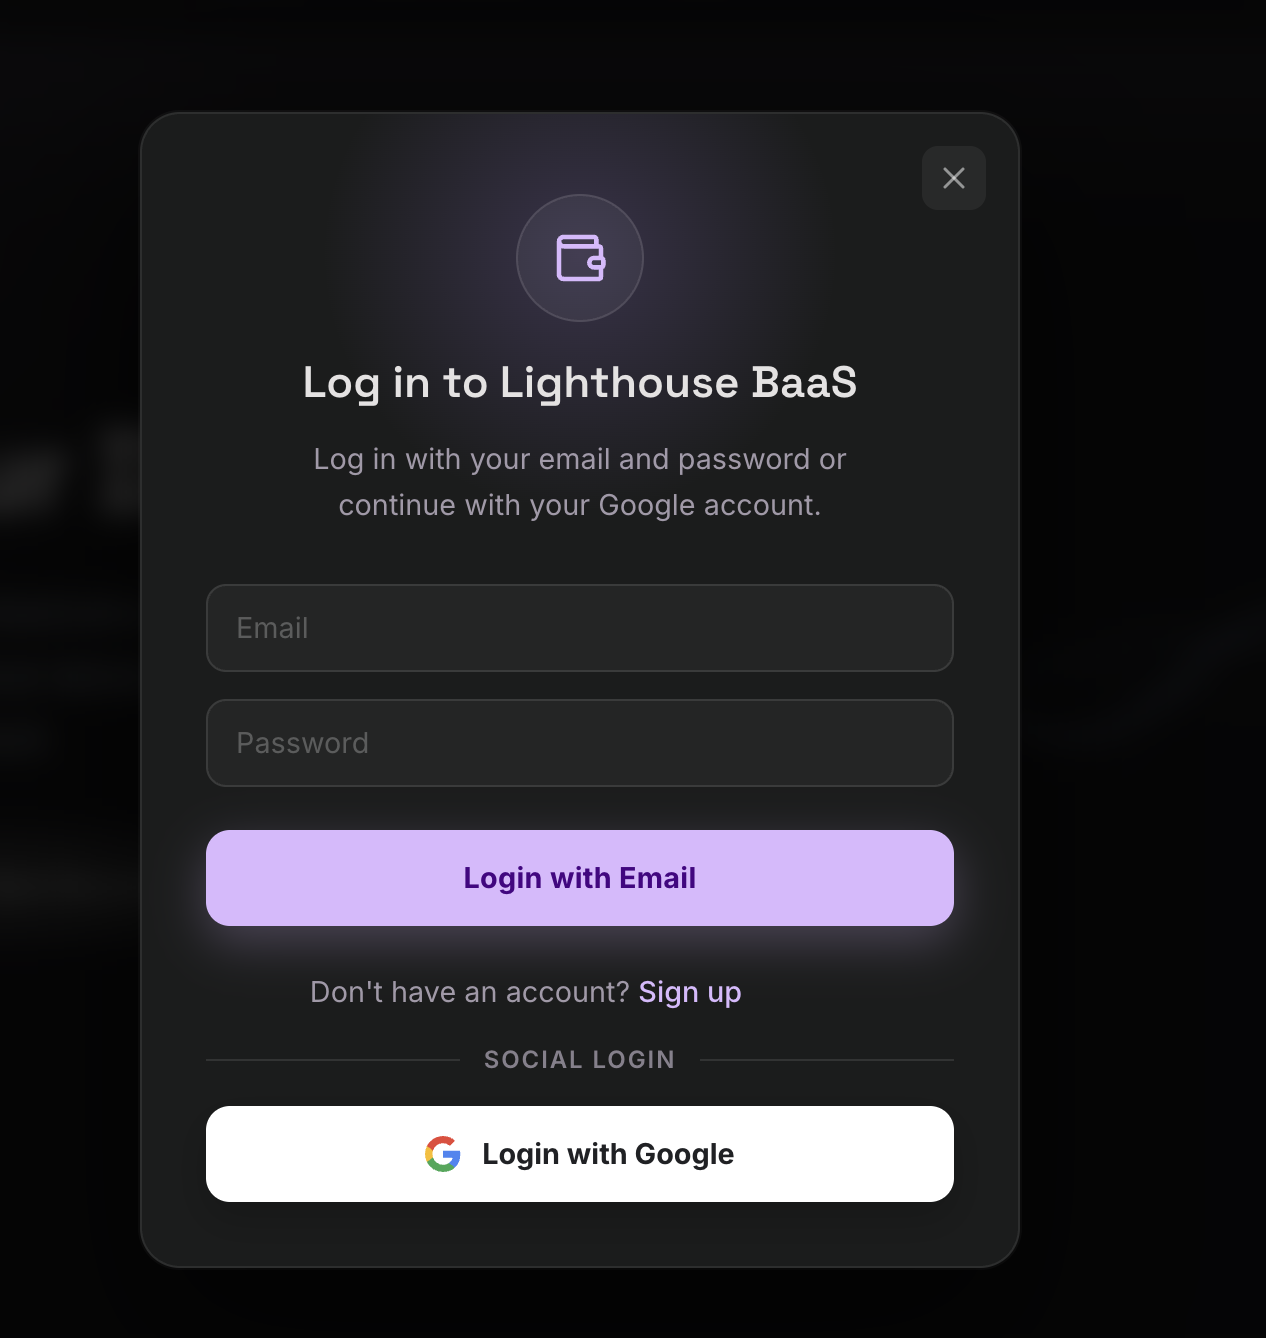
https://baas.lighthouse.storage. - Click Log in / Connect. The auth modal offers two ways to sign in:
- Email + password — switch the modal to Sign up the first time to create an account (display name, email, password). You then receive a verification email; click the link to verify, then log in normally.
- Google — click Login with Google and complete the standard Google consent screen (OAuth + PKCE). You are redirected back signed in.
- After login you land on the Dashboard, and your free workspace is already provisioned.
Tip: Both methods produce the same authenticated session. Email and Google are the simplest ways to get started.
2. Workspaces (your free 5 GB workspace)
A workspace is the tenant boundary. All snapshots, usage limits, members, and API keys are scoped to one workspace.
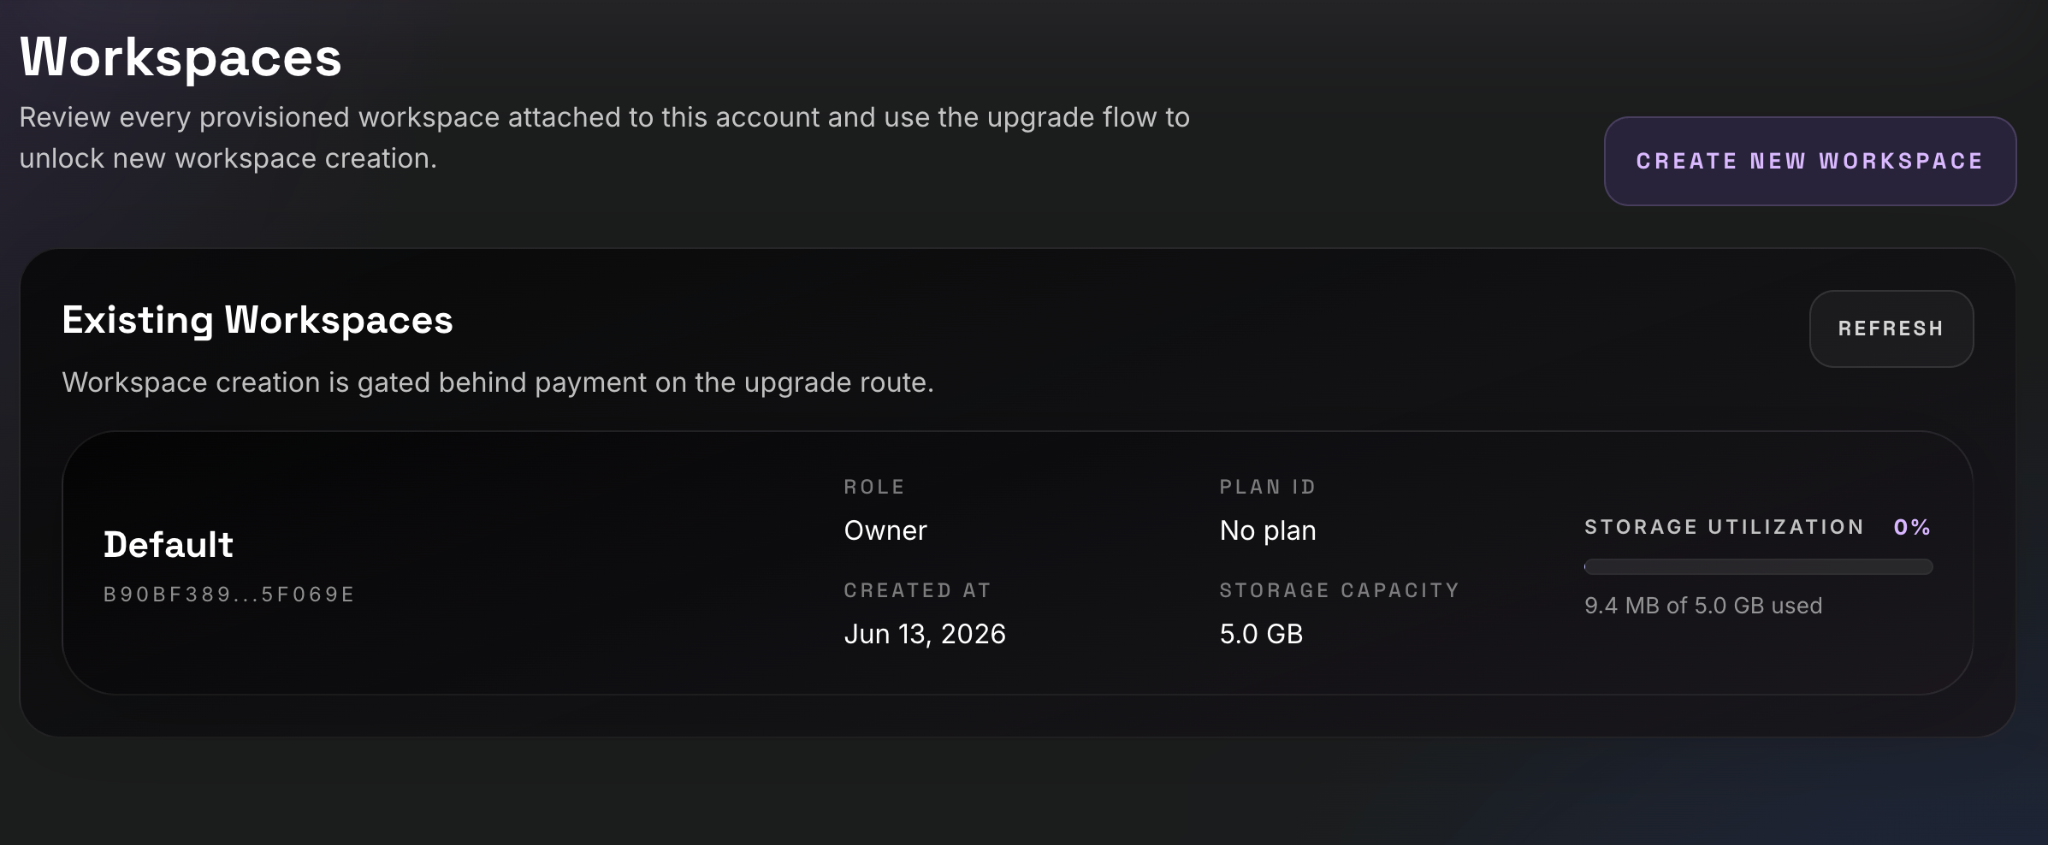
- In the sidebar open Workspaces. Your free workspace is listed with its current data used vs. its 5 GB limit.
- Open the workspace and copy its Workspace ID (a UUID like
550e8400-e29b-41d4-a716-446655440000). You will pass this to the SDK. - (Optional) Click Create New Workspace to add more (for example, separate
demo-prodanddemo-staging). Additional workspaces are gated behind the upgrade flow.
From a workspace's detail page you can also invite teammates under Members, assigning each a role — owner, admin, member, or viewer — with optional extra/revoked scopes. See Workspaces and members and Roles, scopes, and permissions.
3. Generate a scoped API key
This is the credential the SDK uses. It is shown in full only once.
- Sidebar → API Keys → Create New API Key.
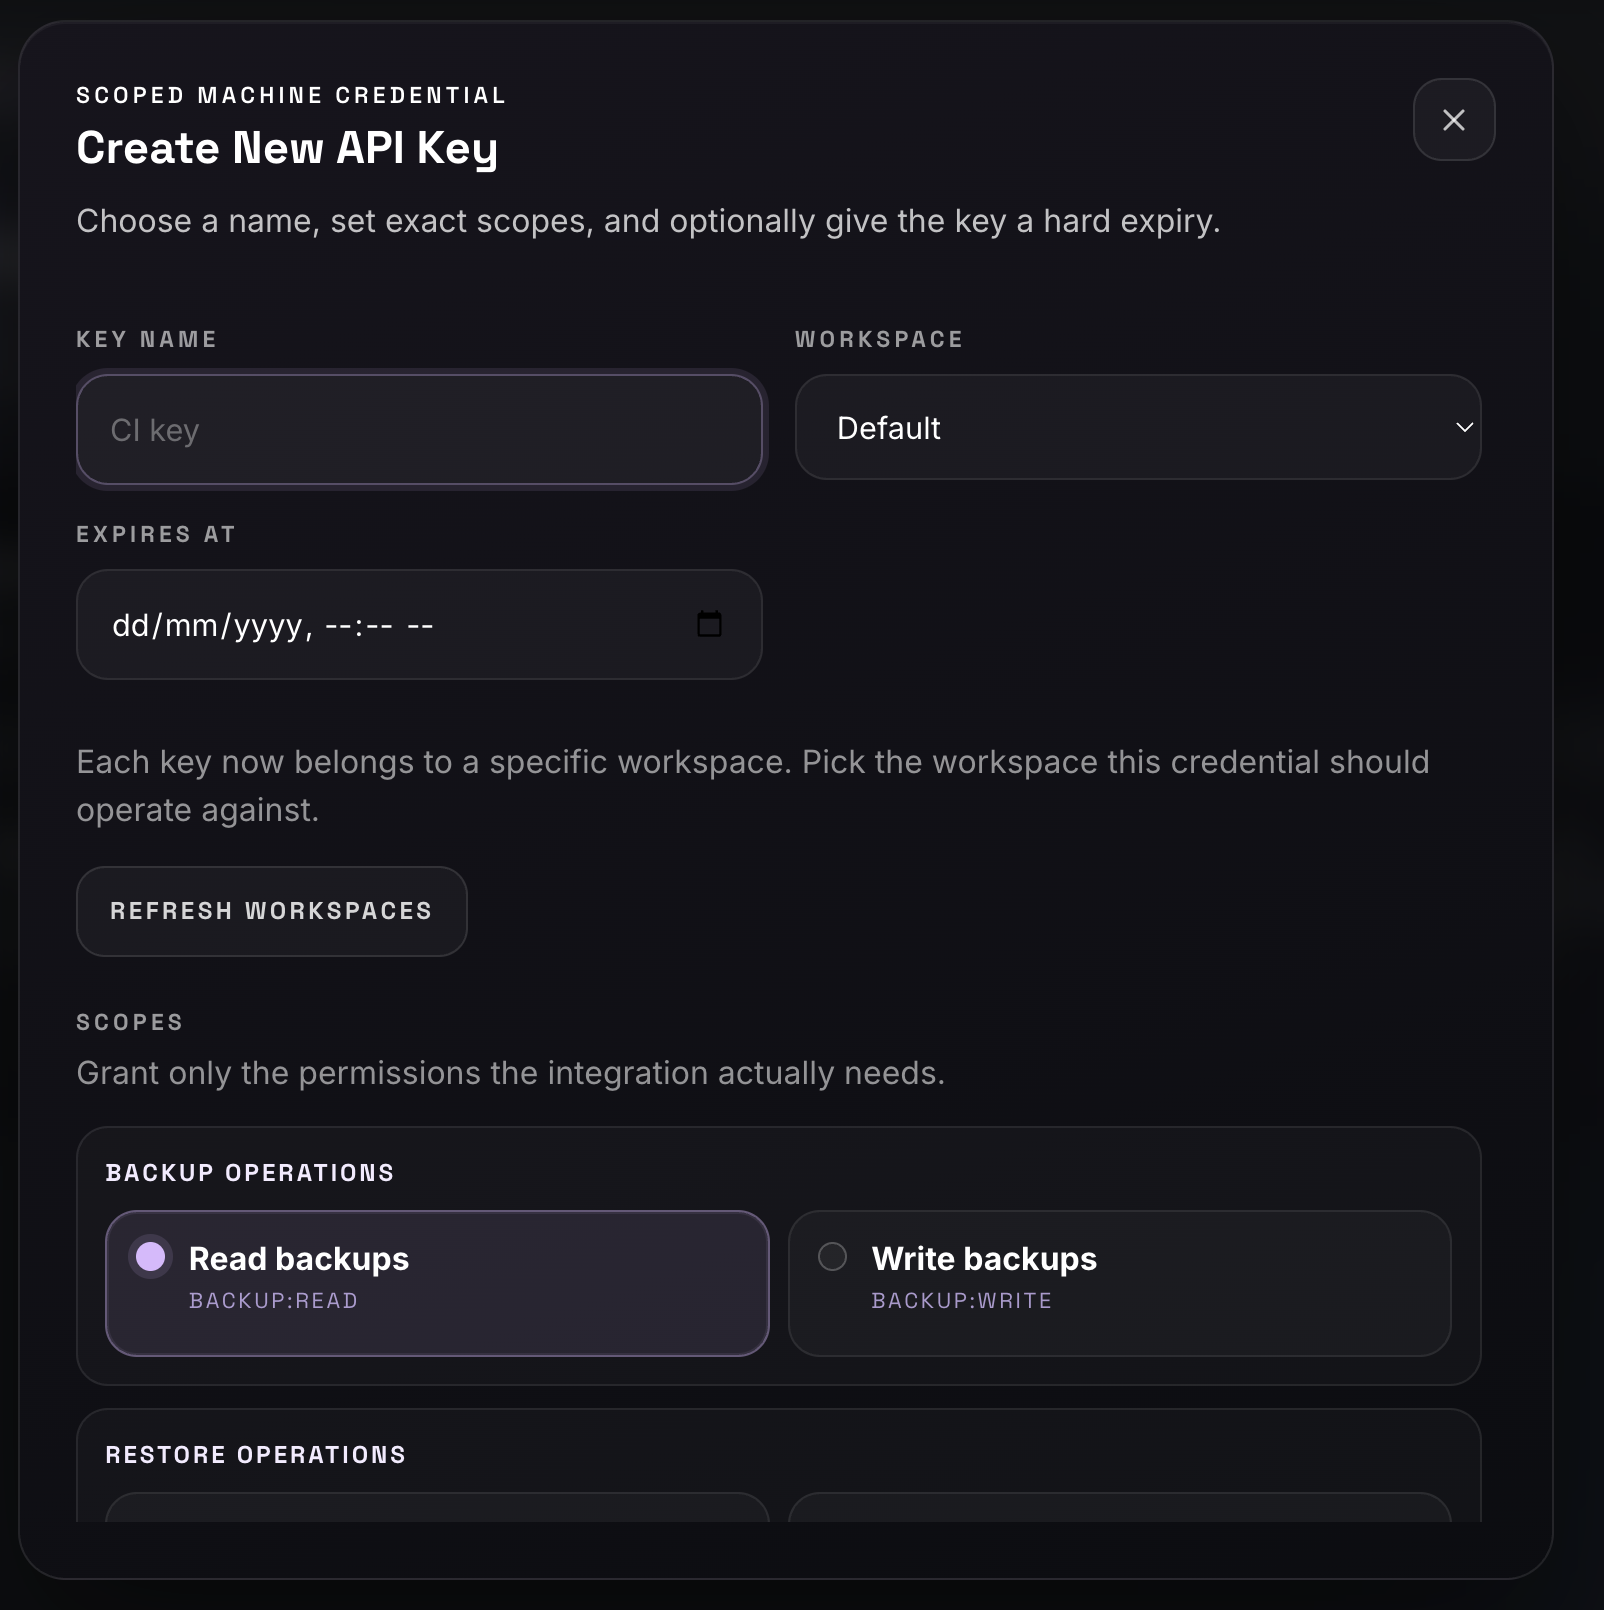
- Fill in the dialog:
- Key Name — e.g.
ci-nightly-backup. - Workspace — pick the workspace this key operates against (each key belongs to exactly one workspace).
- Expires At (optional) — give automation keys a hard expiry.
- Scopes — tick only what the integration needs. For a key that runs the full backup/restore flow, select:
backup:write,backup:read,snapshots:read,restore:read,restore:write,user:read.
- Key Name — e.g.
- Click Create API Key.
- The dialog now shows the raw key (it starts with
lh_…). Copy it or click Download .txt immediately — once you close the dialog you can never see it again, only its prefix. - The key appears in the Issued Keys table with its prefix, scopes, status, last-used time and expiry. You can Revoke it there at any time.
Store the raw key in a secrets manager / environment variable:
export LH_API_KEY="lh_xxxxxxxxxxxxxxxxxxxxxxxx"
export LH_WORKSPACE_ID="550e8400-e29b-41d4-a716-446655440000"
For more on scoping keys for automation, see API Keys.
4. View backups & snapshots in the portal
After you run a backup (via the SDK), come back to the portal to see it:
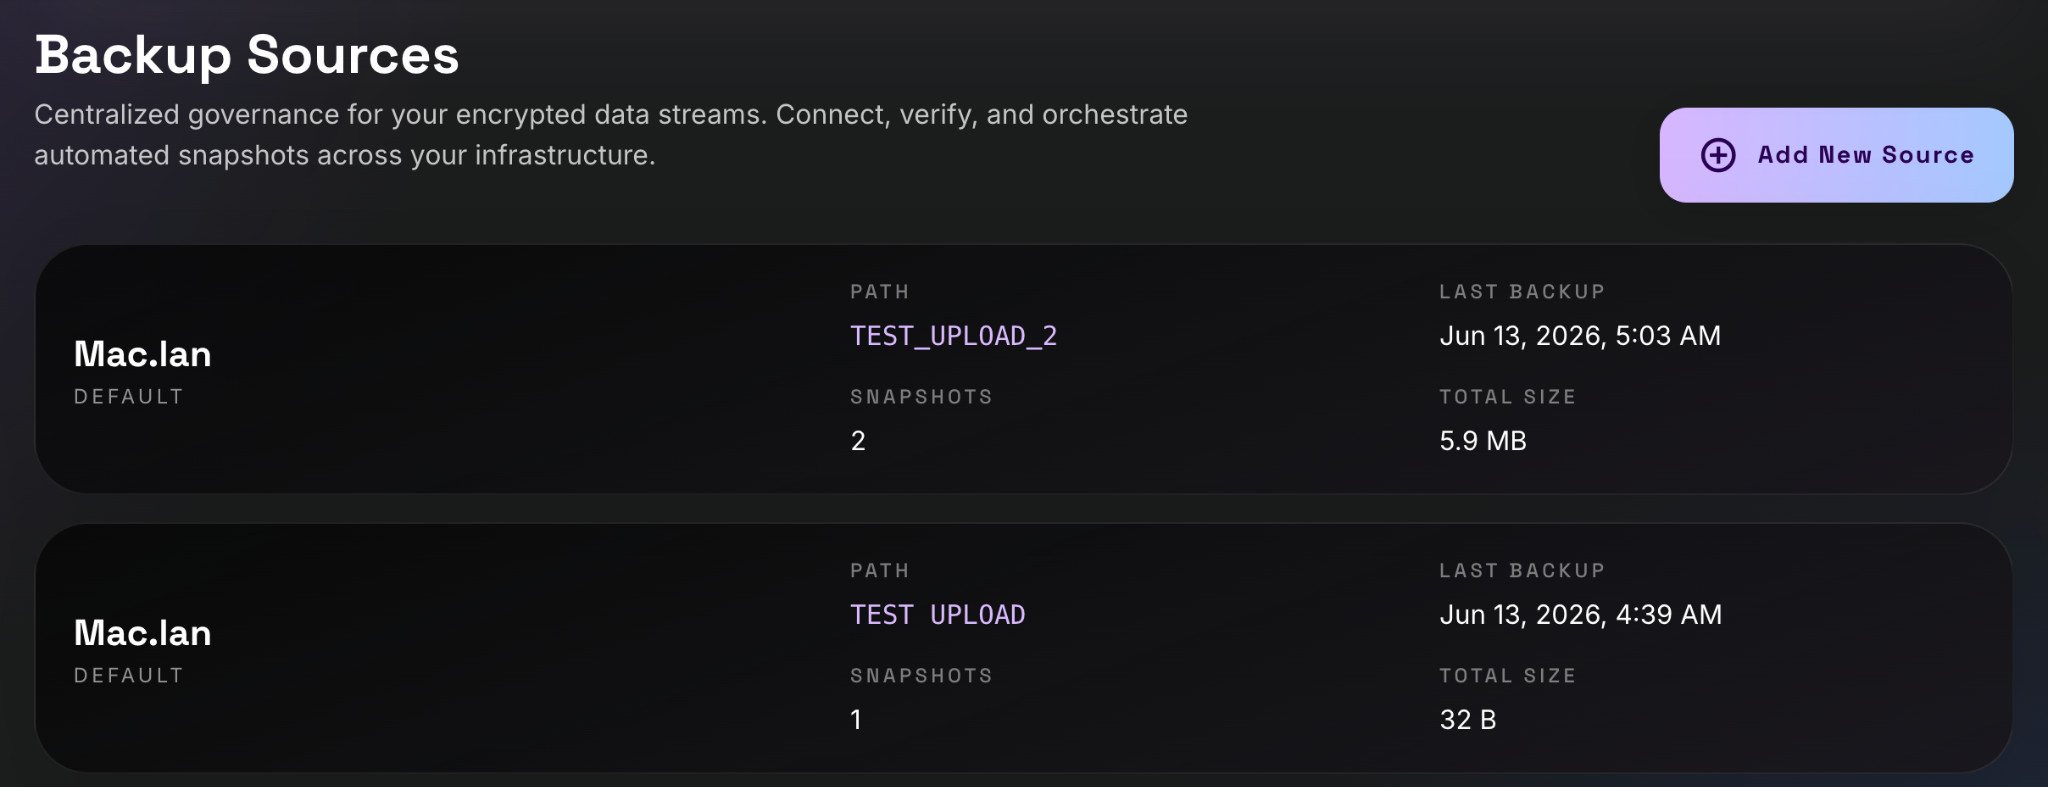
- Sidebar → Backup Sources. Each source is a distinct origin (machine + path) that has pushed backups. Every source shows its latest activity, snapshot count, and total size.
- Click a source to open its detail page, which lists every snapshot for that source — creation time, total size, chunk count, paths and description. Use Load more to page through history.
- The Workspaces and Job History pages give you storage usage (against your 5 GB free limit) and the timeline of backup/restore activity across the workspace.
Note: The
sourceIdthe portal groups by is the same one the SDK manages automatically from a.lighthouse/source_idfile inside your backup target. See Upload Backup Data and Manage Snapshots.
Next steps
- Authentication — the three SDK auth flows in code.
- API Keys — create and rotate keys from the SDK.
- Tutorials → Automated backup with scheduling — dump a database and upload it on a cron.