🔁 Migrate to Walrus
You can move existing CID to IPFS Walrus by submitting the CIDs through the FilesDapp. This works for content already available through IPFS or Filecoin-backed storage flows, including providers such as Pinata, NFT.Storage Classic, Web3.Storage, Filebase, or any IPFS-compatible gateway.
After migration, Lighthouse stores the content on Walrus while preserving the familiar CID-based retrieval workflow.
Step 1: Access the Walrus Dashboard
Open the Lighthouse FilesDapp and sign in with your Sui wallet.
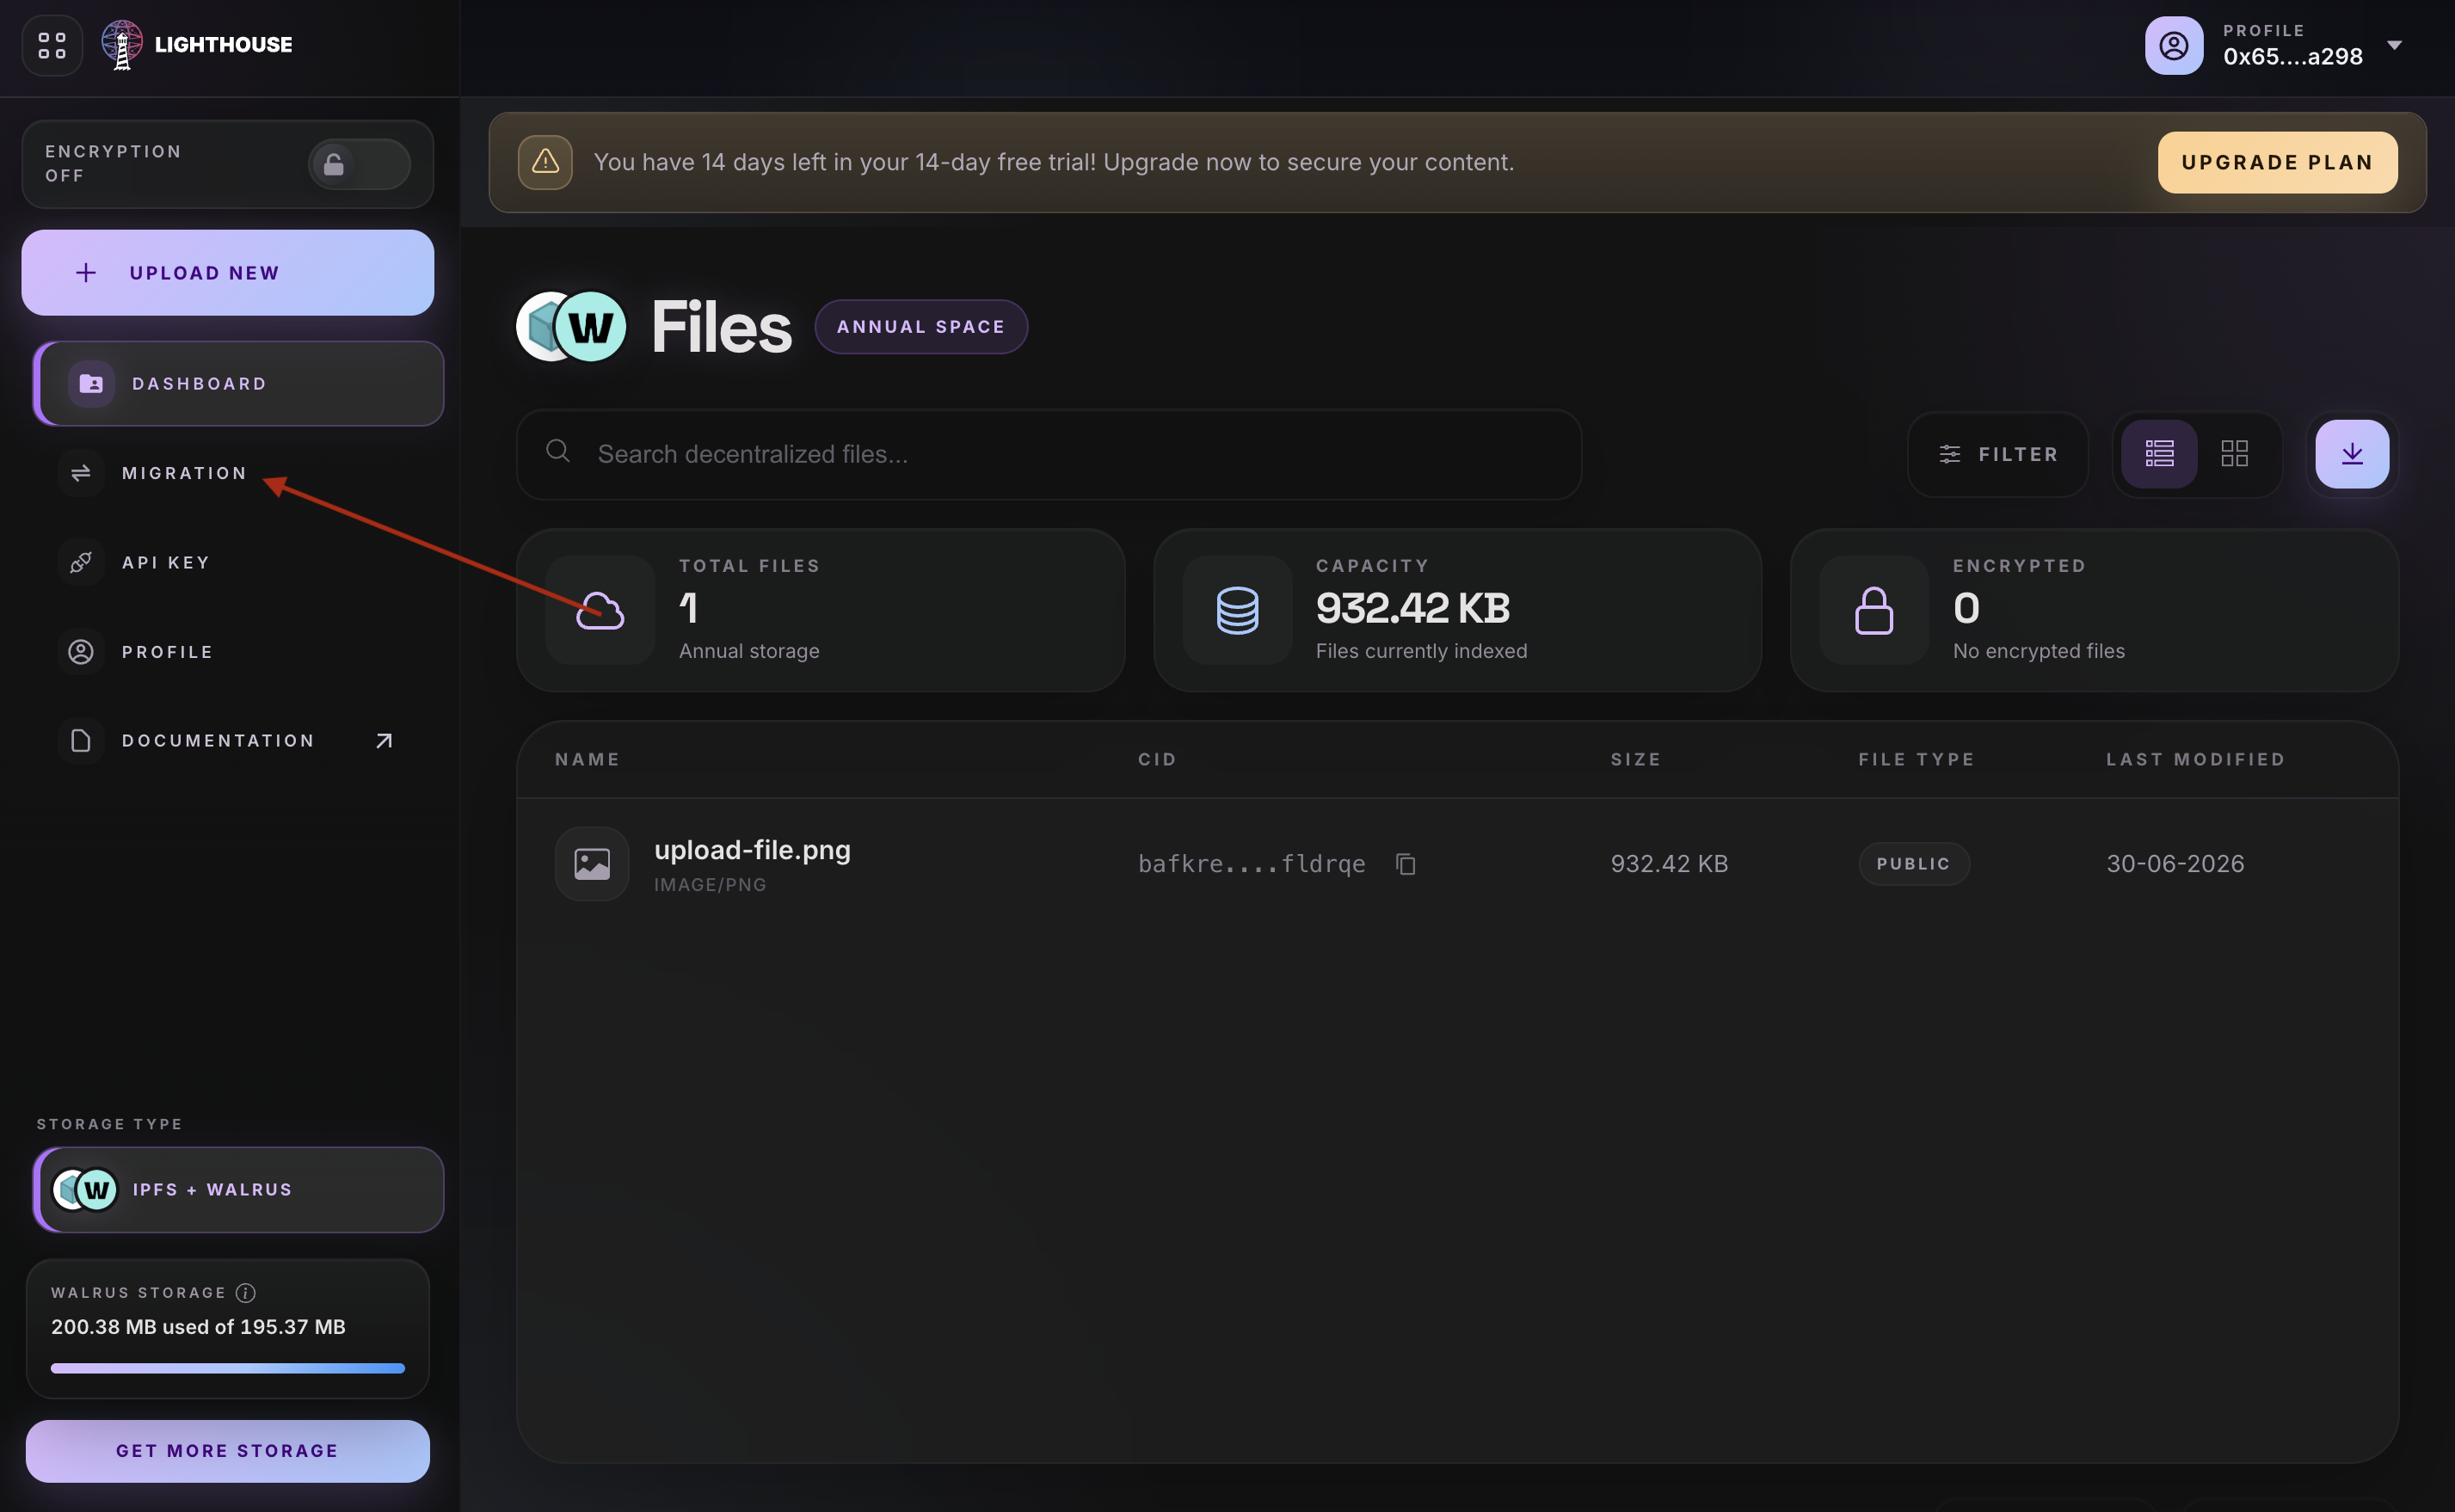
Step 2: Open Migration
Click the Migration option from the left sidebar.
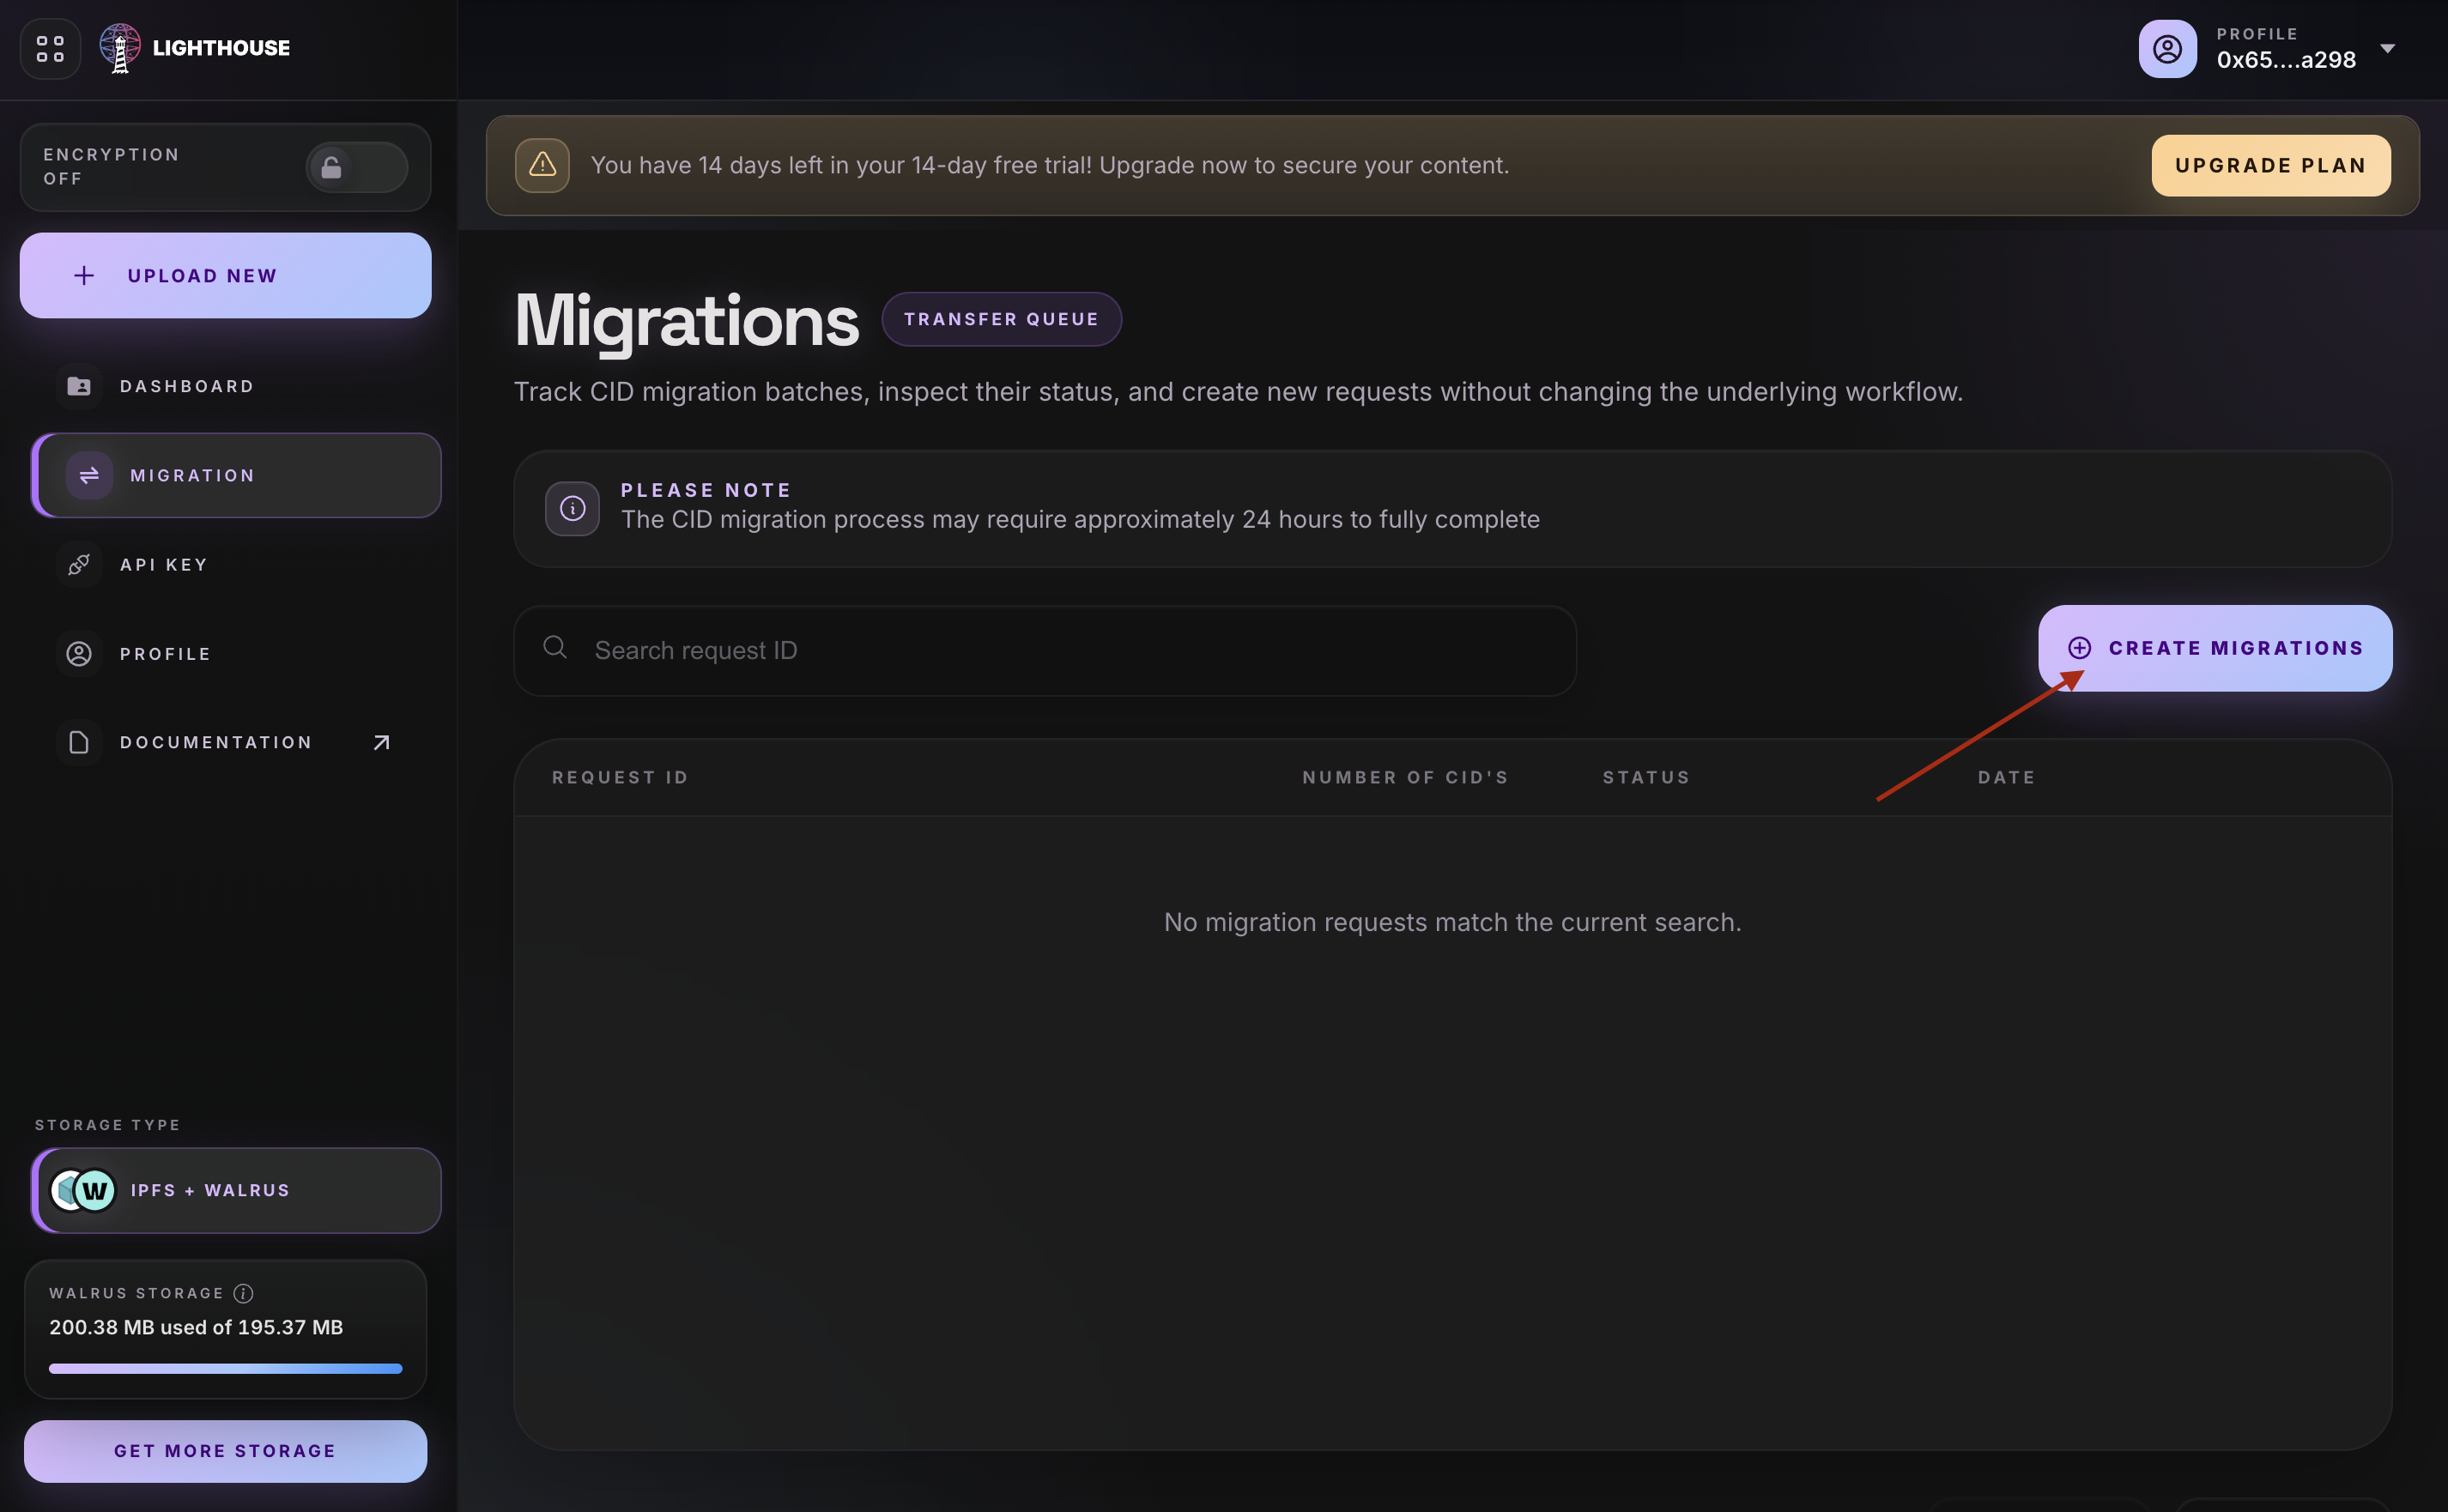
Step 3: Create a New Migration
Click Create Migration to start a new migration request.
You can migrate up to 10,000 CIDs in a single request. The migration can take up to approximately 24 hours to complete, depending on the number and size of files.
Step 4: Provide CIDs
Enter the CID for the content you want to migrate. If you have multiple files, upload a CSV file containing the CIDs.
Each CID should point to content that is publicly retrievable from IPFS or an IPFS-compatible gateway so Lighthouse can fetch and store it on Walrus.
Step 5: Start the Migration
Review the migration details and click Migrate. Lighthouse will fetch the IPFS content, store it on Walrus, and index it for IPFS-compatible retrieval.
Once the migration is complete, the migrated files will appear in your Walrus dashboard with their CIDs and file details.

Step 6: Verify Migrated Files
After completion, open the file list in the dashboard or use the List Files API to confirm that the migrated files are available.
You can also use the File Info API to check metadata for a specific migrated CID, or use Get Blob ID from CID if you need the Walrus blob ID.